

How To Repair Subwoofer Cone
A subwoofer is a specialized woofer. Without subwoofers, our sound system would not be complete. Information technology is possible to damage the cones of our subwoofers when we clean, fix, drop, or perhaps something external happens, as well as damage to the voice curlicue when it is overpowered. The subwoofer is damaged and does not work properly.
People tend to repair their subwoofer cone and voice curl at home because they want to relieve money or are on a tight budget. However, they are unable to repair the subwoofer. They do non know the tool requirements and necessary knowledge. The following is a stride-by-footstep guide on how to set up a blown subwoofer. Let's get started.
Cone repair of Diddled Subwoofer
You accidentally cut a pigsty in the cone of the subwoofer with your screwdriver or drill because you were in a hurry. This has happened to many people. The cone tin can exist repaired in ii ways. Both methods volition help you repair the cone of your subwoofer.
Repair the cone with Patch
Required Equipment:
- Subwoofer Cone Sheet
- Glue (E6000)
- Pair of scissors
- Hairdryer
Steps to Follow
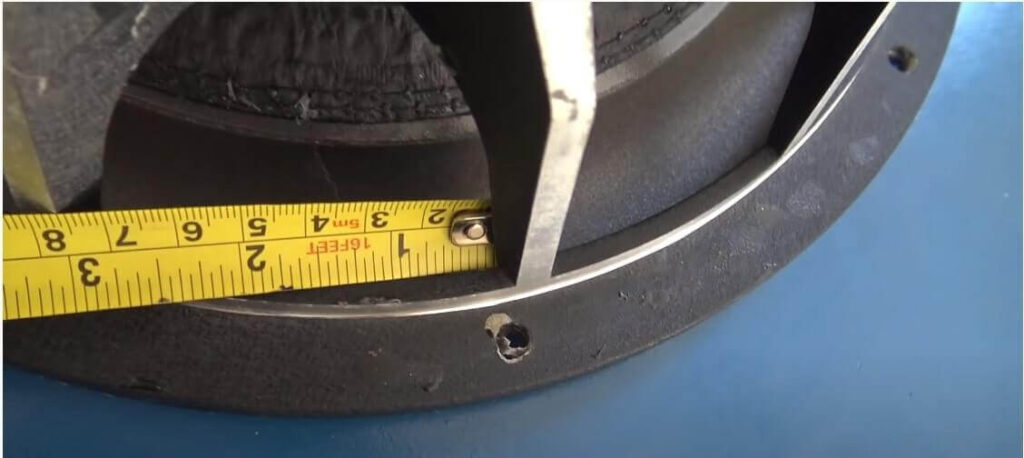
Step 1: Turn the subwoofer over and measure the hole in lodge to decide how long the patch needs to be.
Step 2: Having measured the patch, cutting it into two pieces with scissors.
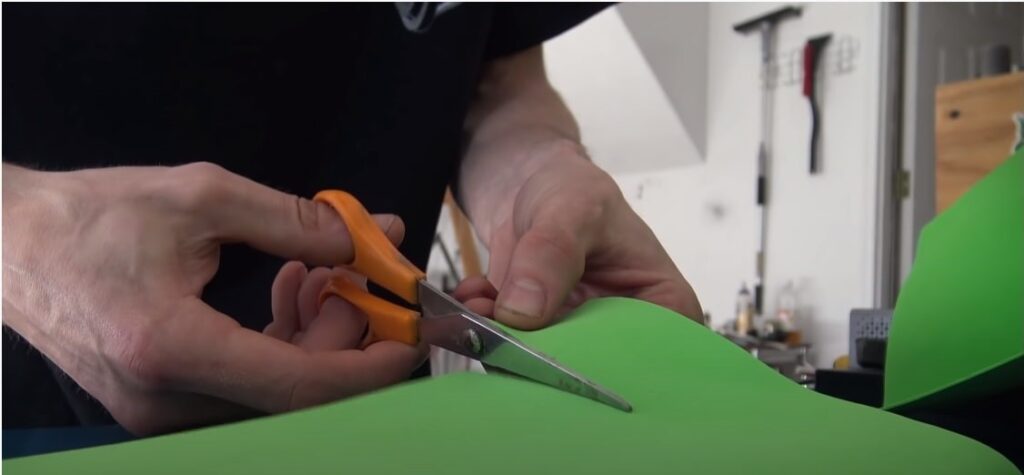
Step iii: Having measured the patch, cut information technology into two pieces with scissors. Next, apply glue to the patch area and the cracks to fill up the subwoofer.
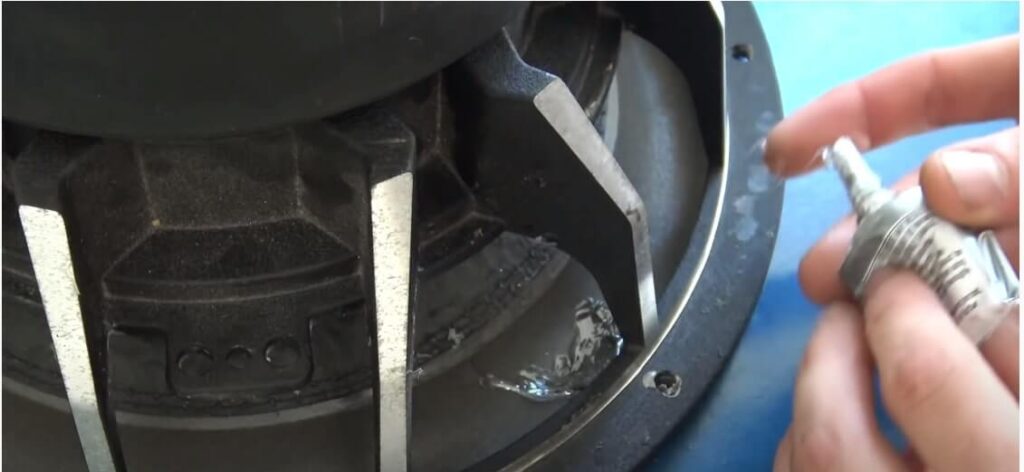
Stride 4: After you have cut the piece from the sheet, gum it to the piece. Be sure to glue the unabridged piece to the canvass, including all corners.
Footstep 5: You will need to put some weight on the piece once it is placed over the hole.
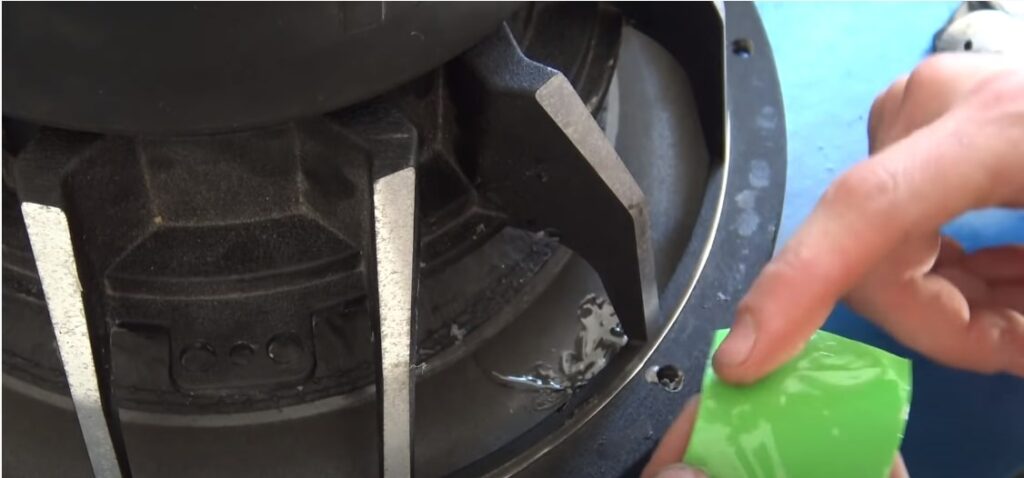
Step 6: Place the cone canvas on the upward side of the hole and use a dryer to dry the glue.
You can now play your music and listen to your subwoofer. You lot may notice this video helpful if you accept trouble post-obit or understanding these steps.
Supervene upon the cone of the Blown Subwoofer
Required Equipment
- Screwdriver
- Allen Key
- Razor Blade
- Battery (To check that the subwoofer is blown or not)
- Speaker Repair kit
- Glue (E6000)
- Hair dryer
- Lacquer Thinner
- Rag
Steps to Follow
Step 1: Commencement of all, make sure that the subwoofer has non blown before you repair it. Connect the positive and negative terminals of the battery.

Subwoofers that move upwardly accept non blown.
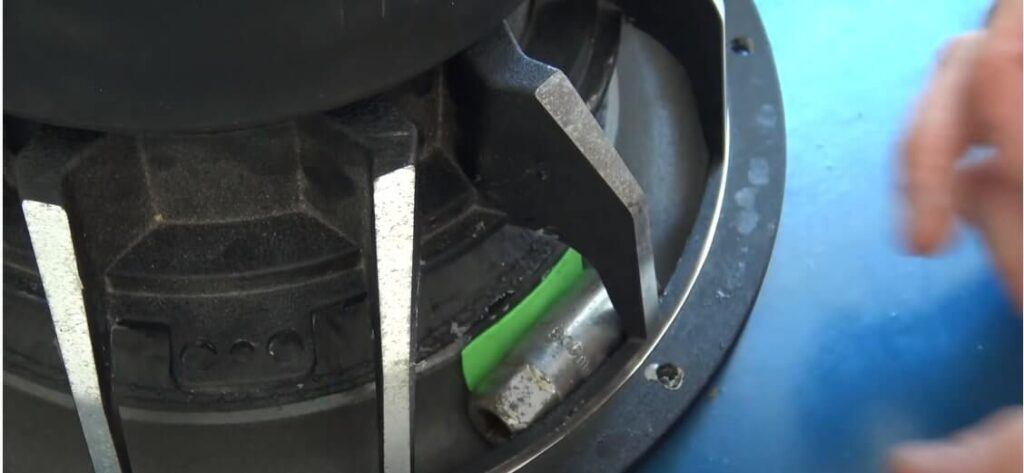
Step 2: Using a hairdryer, heat the cone for v minutes and then carefully remove information technology with a screwdriver.
Step 3: Then, use a razor blade to remove whatever rough surface on the edges and in the eye. Yous need to exist careful when doing this.
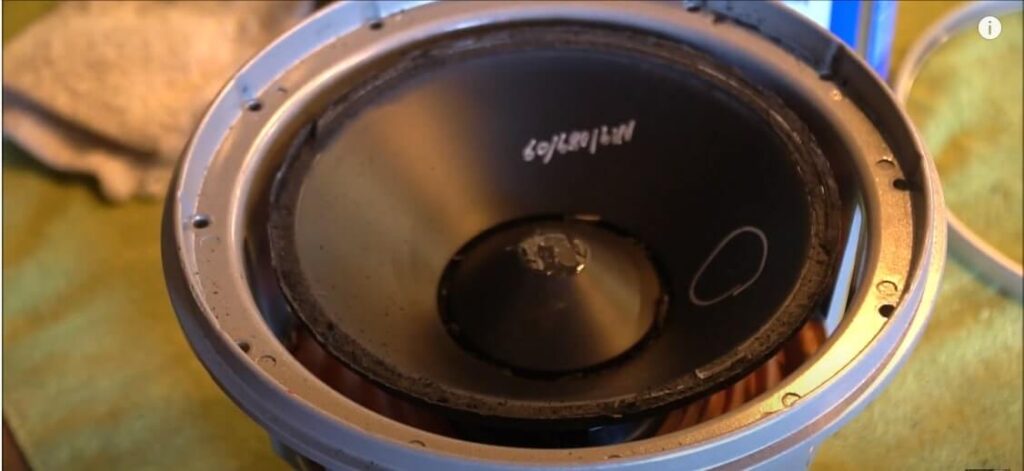
Step 4: After cleaning use the Lacquer Thinner to wipe the edges.

Stride v: Then utilise a blade and Lacquer Thinner to make clean the cone'south superlative plate from the bottom side.

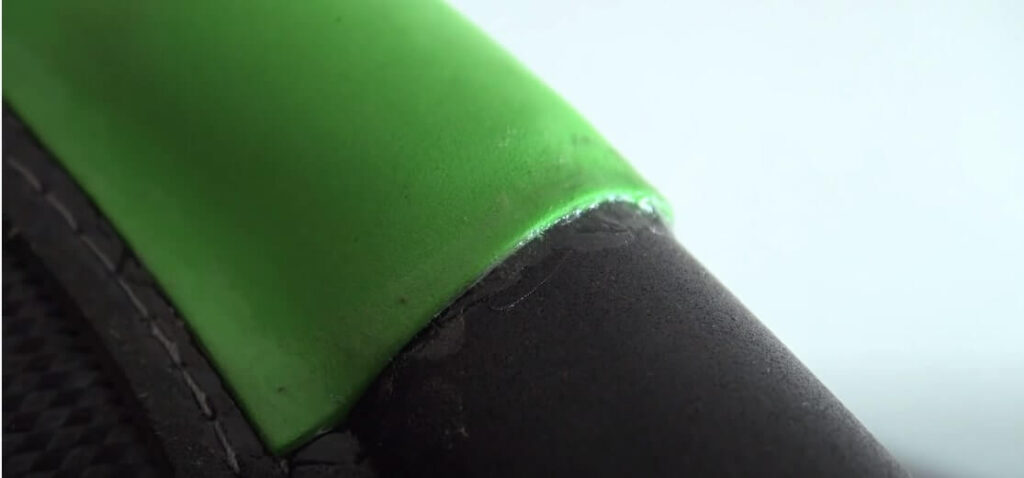
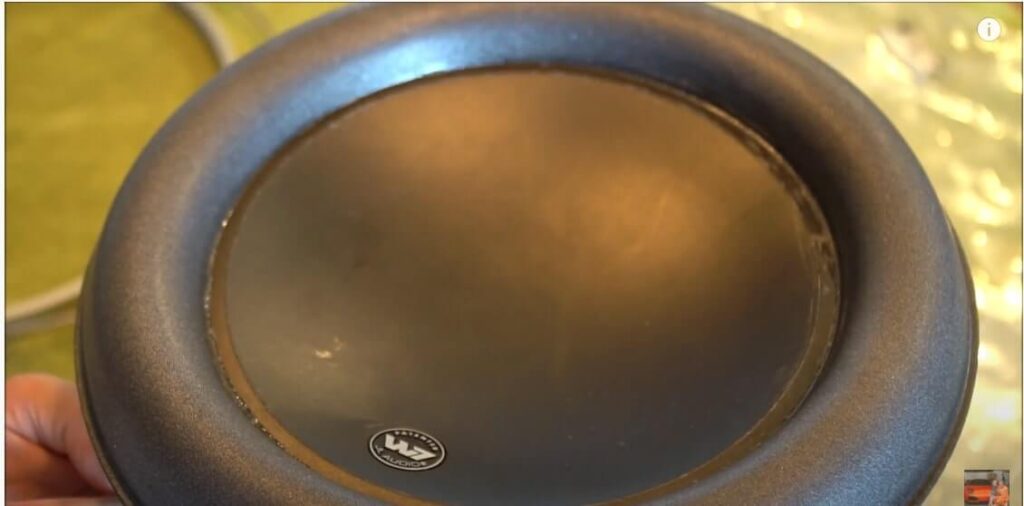
Step 6: Apply gum very carefully to the edges of the cone afterwards you lot've completed all these steps.

Step 7: Lastly, place the foam onto the exterior of the comb and push it in with your easily. After x minutes of contact, the foam and cone will dry in i hour.

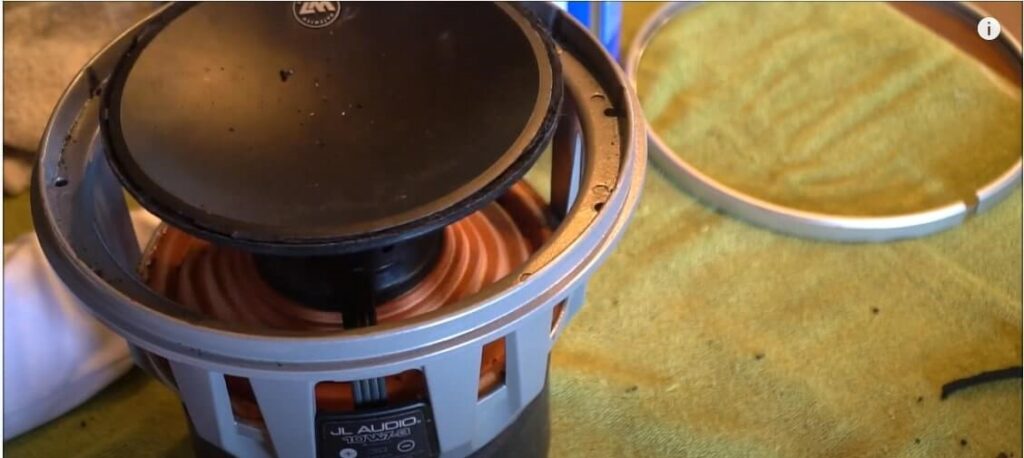
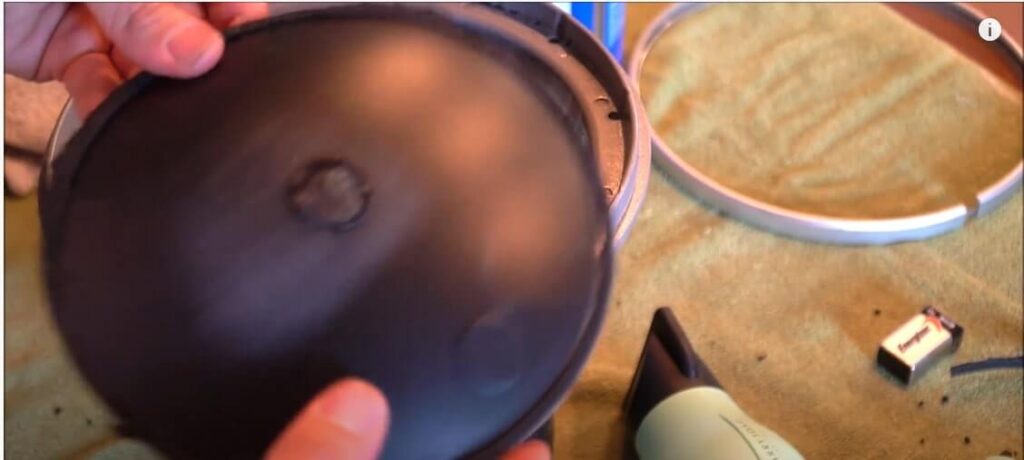
Step 8: Next, put mucilage along the upper cone's edges and likewise in the middle.

Step 9: At present, You should place upper plate on the cone, and press downwards the edges and center together. Ensure that you lot seat it correctly.
Now, you tin can listen to your subwoofer while playing your music. Please watch this video if you don't understand these steps or find them hard to follow.
Too, read our step-to-step guide on how to repair subwoofer voice coil.
How-do-you-do, this is Ali. I have been an enthusiast of speakers peculiarly subwoofers. And then, I am finally going to throw my experience out for you guys.
Source: https://subwoofermag.com/how-to-fix-a-blown-subwoofer/
0 Response to "How To Repair Subwoofer Cone"
Post a Comment